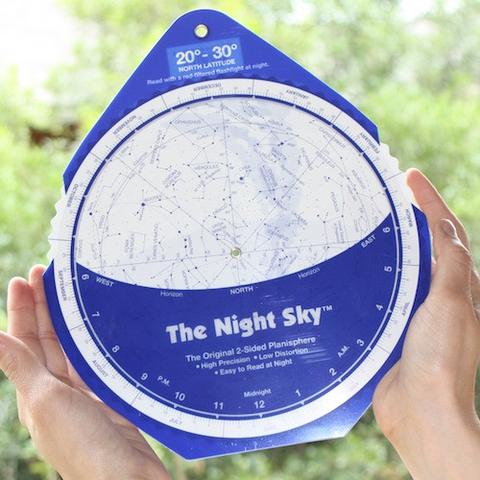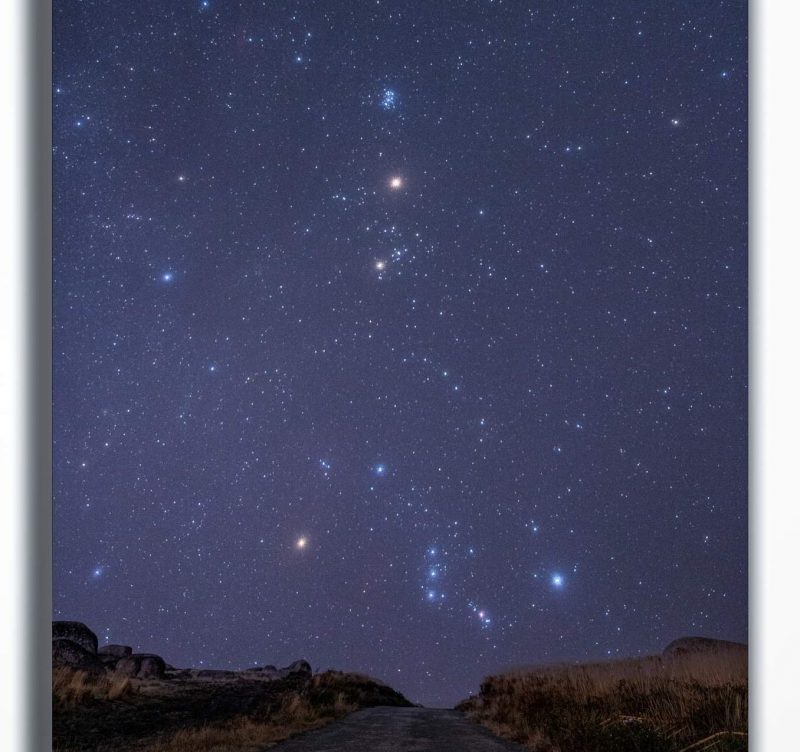
It’s summertime in the Northern Hemisphere and it’s a great time to stargaze! Learn how to use a planisphere – a very handy tool – to locate stars and constellations. It’s fun and easy!
Order your planisphere today! Be sure to order it for your hemisphere and latitude.
What is a planisphere?
If you want to learn the stars and constellations, then you need a planisphere. A planisphere is a rotating star locator. In fact, it shows you what’s overhead any night of the year. So all you have to do is to turn the wheel until you’ve aligned your date with the time of night you want to look. Then the stars and constellations in view on the wheel are the same as those above your head. Furthermore, unlike most sky charts, a planisphere never goes out of date. Plus, it always stays in step with the motions of the heavens.
Top tips and how to use one
-
1. For best results, go to a dark-sky site. Locations away from light pollution allow more stars to pop into view. Pick out the brightest stars first. If you want to observe from your yard, where fewer stars are visible, notice that the brighter stars are portrayed as larger dots on the planisphere.
-
2. Use the wheel to set the time you are viewing and align it with the day’s date. If necessary, adjust for daylight saving time by subtracting one hour.
-
3. Also, be sure you’re holding the planisphere correctly with respect to the real sky. Notice the cardinal directions located on the planisphere. If you hold the planisphere upright with north at the bottom, stand and face north. Then when you lean back and tilt the planisphere over your head, the constellations on the planisphere should match up with those in the sky. Do the same when facing east or west, hold the planisphere with that direction at the bottom while facing that direction. The planisphere is essentially a view of the dome of the sky when held over your head. If you want to face south, use the back of our planisphere and hold it so south lines up with your horizon. Note, not all planispheres have south on the back.
-
4. In order to preserve your night vision, try using a small flashlight covered with red cellophane to read your planisphere. Or pick up a red light flashlight from the EarthSky store. Using a planisphere with a red light preserves your night vision more than using an app, which will limit how much you can see in the sky. In fact, using night vision mode on an electronic device is still too bright to preserve your night vision.
-
5. Look for patterns – squares, semicircles, dippers and so on – among the stars. Remember, constellations rarely look like their namesakes. Don’t worry about seeing Canis Minor as a dog, or Andromeda as a princess.
-
6. Learn each constellation in relation to its neighbors. Use each one as a stepping stone to the next. And like picking out stars, start with the brightest ones first. Then, go out occasionally to review the constellations you can pick out. And maybe there are new constellations to learn.
-
7. The ecliptic – or path of the sun and moon across the sky – is shown on the planisphere as a dotted line. If you notice a bright star not on the planisphere and somewhere along the ecliptic, you’re probably seeing a planet. The planets you can see with your unaided eye – Mercury, Venus, Mars, Jupiter, Saturn – are usually as bright or brighter than the brightest stars. Not sure if what you’re seeing is a planet? Check out EarthSky’s monthly planet guide.
-
8. The irregular shaded areas on the planisphere indicate the Milky Way, you’ll need to be under dark skies to see it.
Joining history
By the way, in learning to use a planisphere, you’re joining the distinguished company of some of history’s most famous stargazers. Jakob Bartsch – son-in-law of Johannes Kepler, discoverer of Kepler’s laws of planetary motion – made the first star chart to bear the name planisphere in 1624.

Bottom line: The first step to learning the night sky is being able to identify stars and constellations. And a planisphere is an easy-to-use tool that can help you do that.


